Build a Raycasting Engine in JavaScript (DOOM-Style 3D)
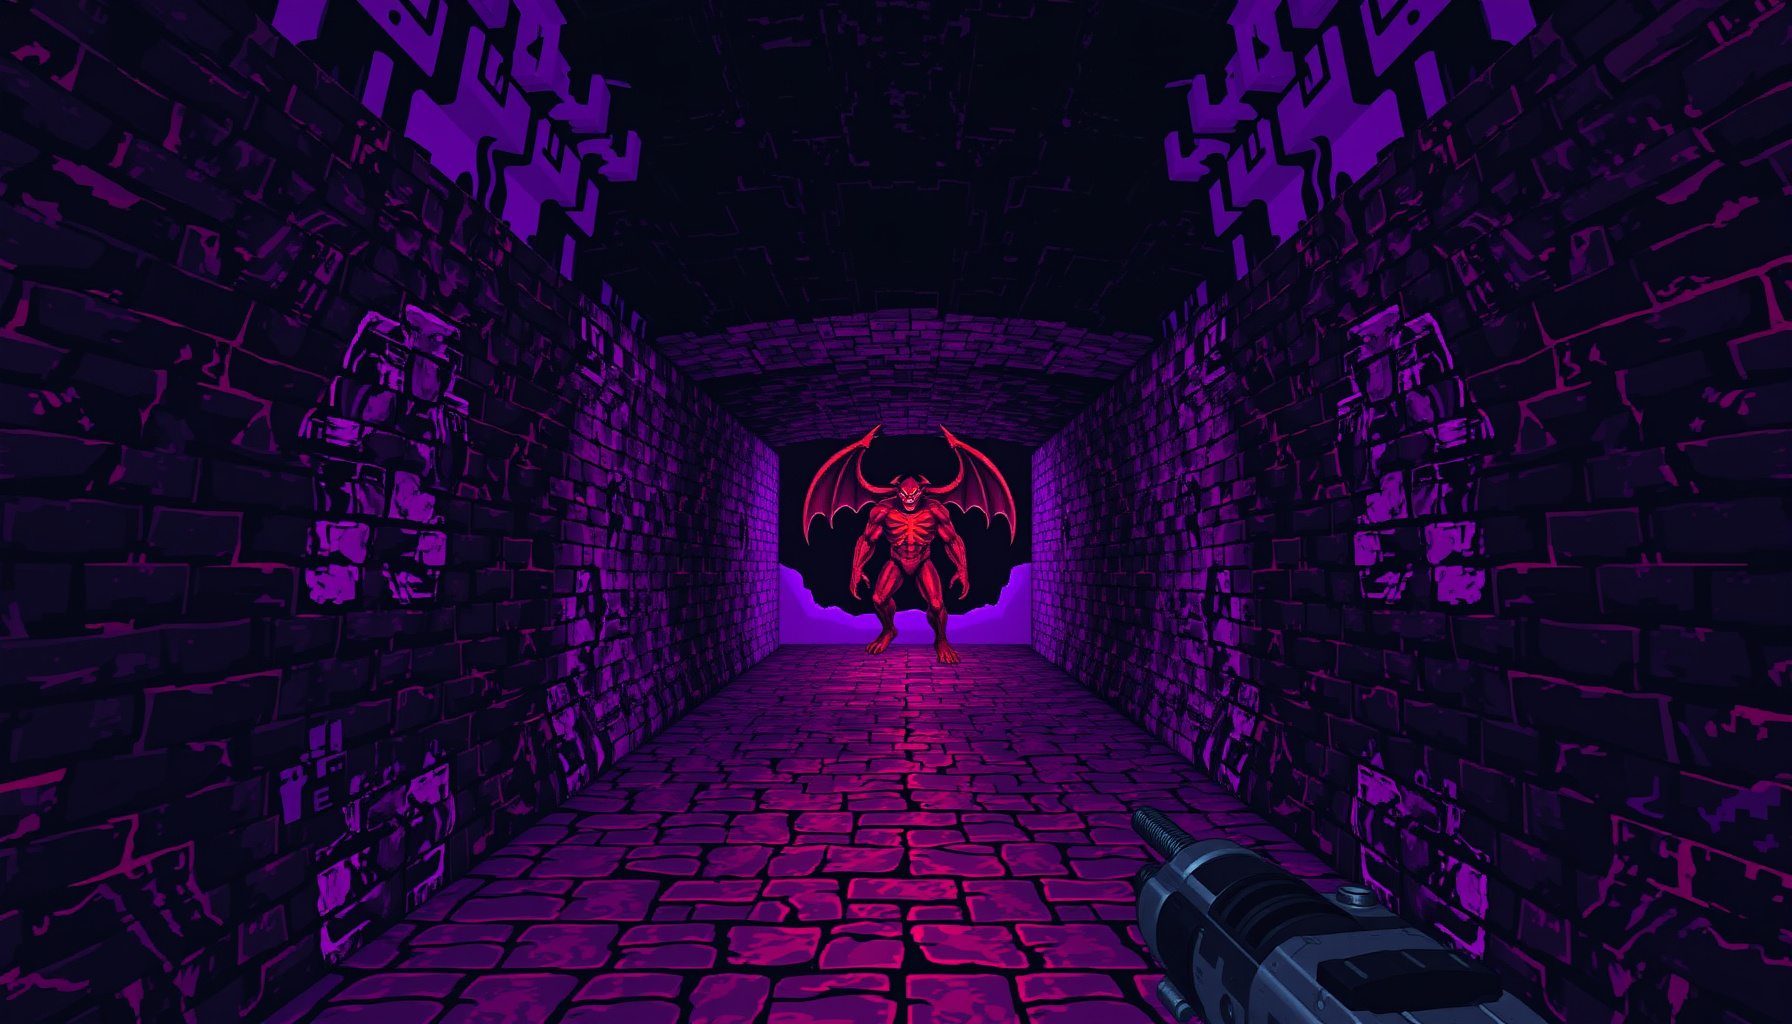
Have you ever wanted to build a raycasting engine in JavaScript to create classic DOOM-style 3D corridors? This guide breaks down the core algorithm, from firing rays per screen column to textured walls and sprite enemies, using the fantastic lodev.org raycasting tutorial as our foundation. You can see these concepts in action in our playable companion game right now:
How This Was Researched
This tutorial is built on a foundation of verified technical sources. We started with the definitive lodev.org raycasting tutorial, which explains the DDA algorithm and floor/ceiling casting. To correctly position raycasting within game engine history, we cross-referenced the DoomWiki article on the Doom rendering engine and the Wikipedia article on the Doom engine. We verified the source code release timeline using the official id-Software/DOOM GitHub repository. Our methodology focused on correlating claims across these primary sources and original documentation. We did not cover advanced topics like BSP node building or sector-based engines like Quake. Last researched: August 2026. This guide is based on official documentation and the original engine’s source — we did not run the game hands-on in testing; it is a code walkthrough.
Why Build a Raycasting Engine in JavaScript?
Building a raycasting engine in JavaScript is an exceptional learning project because it demystifies the magic of early 3D games with a manageable codebase. It teaches core computer graphics concepts—like coordinate systems, drawing algorithms, and basic sprite management—using the accessible browser environment, allowing you to create a tangible, playable result quickly.
What Is Raycasting and How Does It Work?
Raycasting is a technique to render a pseudo-3D view from a 2D map by firing an imaginary ray from the player’s position for each vertical column of the screen. For each ray, an algorithm determines where it intersects a wall, calculates the perpendicular distance to avoid fish-eye distortion, and uses that distance to draw a vertical stripe of a certain height, creating the illusion of depth. The lodev.org tutorial provides a clear explanation of this fundamental process.
How DOOM Actually Rendered 3D: BSP vs Raycasting
DOOM, released on December 10, 1993 by id Software with its engine written by John Carmack, created its famous pseudo-3D, 2.5D look by rendering a 2D floor plan, with the critical limitation that it could not handle room-over-room geometry. This rendering was achieved not with raycasting, but with a Binary Space Partitioning (BSP) tree system. The raycasting lineage for first-person shooters actually belongs to its predecessor, Wolfenstein 3D (May 5, 1992). DOOM’s source code was freed on December 23, 1997 for non-commercial use, then released under the GPL on October 3, 1999; the canonical GitHub repository (id-Software/DOOM) was created on January 31, 2012.
Building the Engine: Code Walkthrough
The core of a raycaster is a loop that processes one screen column at a time. We represent our world with a simple 2D grid array, where numbers denote wall types. For each column, we cast a ray using the DDA algorithm to step through grid squares until it hits a wall. Here’s a minimal representation of the data and logic:
// A simple 16x16 map where 1 = wall, 0 = empty space
const worldMap = [
  [1,1,1,1,1,1,1,1,1,1,1,1,1,1,1,1],
  [1,0,0,0,0,0,0,0,0,0,0,0,0,0,0,1],
  // ... (remaining rows)
  [1,1,1,1,1,1,1,1,1,1,1,1,1,1,1,1]
];

function castRay(angle) {
  const rayDirX = Math.cos(angle);
  const rayDirY = Math.sin(angle);
  let mapX = Math.floor(playerX);
  let mapY = Math.floor(playerY);

  // DDA setup and loop - steps grid square by grid square
  let hit = false;
  while (!hit) {
    // Step to next grid square and check worldMap[mapY][mapX]
    // If it's a wall, record the perpendicular distance and set hit = true
  }
  // return perpendicular distance to wall
}
Once we have the perpendicular distance for each column, we calculate the projected wall height and draw a textured vertical stripe. You can explore a full, commented implementation in our doom-raycaster demo.
Adding Enemies and Shooting
Enemies are rendered as sprites, which are 2D images that always face the player, like billboards in a 3D world. To draw them correctly, you must calculate their distance and position, then project them onto the screen, sampling their texture column-by-column. Crucially, a depth or z-buffer (one value per screen column) is used to determine whether a sprite should be drawn in front of or behind a wall. Shooting in this style is often done via hitscan: when you fire, the engine immediately checks which objects are in the line of fire. The lodev.org sprite tutorial details the sprite rendering process.
Using AI Tools to Build a Raycaster
An AI coding assistant is incredibly useful for scaffolding the boilerplate of a raycaster, such as writing the initial DDA grid traversal loop or generating the texture sampling logic for floor casting. It can also help debug common issues like fish-eye distortion by explaining the math behind the perpendicular distance calculation, allowing you to focus on the high-level structure and integration of sprites.
FAQ
Is raycasting the same as raytracing?
No. Raycasting fires one ray per screen column and only finds the first surface it hits to draw walls. Raytracing is far more computationally expensive; it fires many rays per pixel, following their paths as they reflect and refract to simulate realistic lighting and complex geometry.
Do I need a game engine like Phaser to build a raycaster?
You do not need a full engine. A raycaster can be built in a single HTML file using just the Canvas API. However, libraries like Phaser can handle boilerplate (like input and the game loop), so you can focus on the raycasting math. We discuss these choices in our Phaser vs PixiJS vs Three.js comparison.
Where can I find more inspiration for browser games?
You can browse a collection of published browser games for ideas. We also have a classic Pong tutorial that covers foundational concepts like game loops and input.