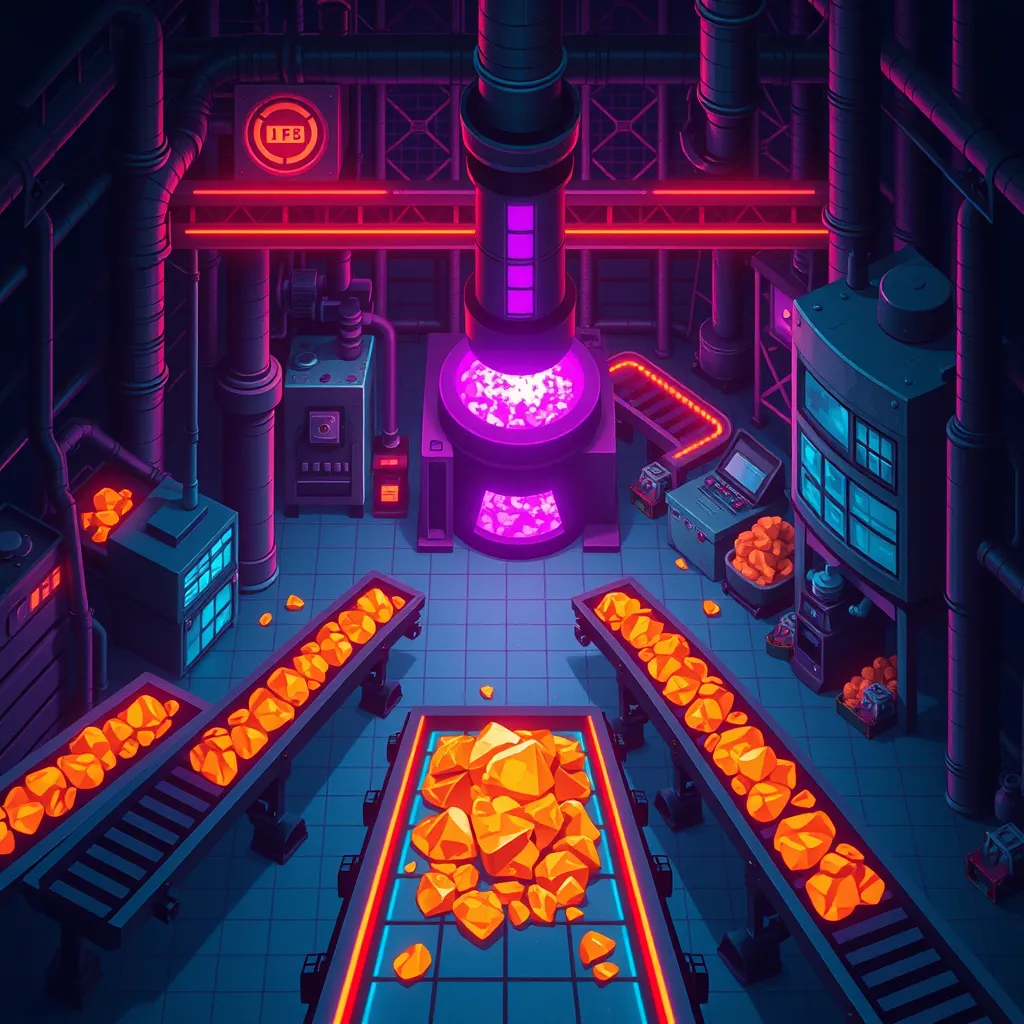
Build a Factory Automation Game in Phaser 3: Miner to Conveyor
Build a Factory Automation Game in Phaser 3: Miner to Conveyor
You build a factory automation prototype by keeping the whole world in a plain 2D array, running a fixed tick loop inside update(), and letting each tile type move items one step per tick. Sprites only display the array. This tutorial walks through miner, belt, smelter, chest, throughput counter and upgrades in Phaser 3.90.
A note on scope: this tutorial is built on Phaser 3.90’s documented APIs and the prototype you can play at the bottom of this page. The code shown is the code that runs there, but we did not run performance benchmarks, so anything said about speed is about design decisions, not measured numbers.
What are we building, exactly?
We are building a small grid-based factory simulator: miners produce ore, belts carry items tile to tile, a smelter turns ore into plates on a timer, a chest collects plates, and a counter reports throughput per minute. Clicking a miner spends plates to make it faster.
Factory building is a subgenre of the wider construction and management simulation family, and its core loop is always the same shape: extract a resource, move it through logistics, process it, and optimise throughput. That loop is small enough to fit in one Scene.
Two things we deliberately skip. First, physics: nothing here bounces or collides, because items live in data. Second, pathfinding: belts have a facing, so routing is your job as the player. That keeps the code readable while still producing the “one more belt” feeling.
The finished prototype has five tile types: empty, miner, belt, smelter, chest. Every feature in this post is a rule about how those five behave on a tick. It also ships with a starter line already placed, so you can watch ore move before you place anything.
How do you set up the Phaser 3.90 project?
Setup takes three things: a CDN script tag, a config object, and one Scene. Load Phaser 3.90 from jsDelivr, set the scale mode to Phaser.Scale.FIT with autoCenter set to Phaser.Scale.CENTER_BOTH so the canvas letterboxes cleanly at any window size, then register a single Scene that owns the grid.
Phaser 3.90 “Tsugumi” shipped on 23 May 2025. Among other things, its release notes mention setRounded() on Rectangle Shape game objects, which is handy if you want rounded tile cards without a custom graphics class. Nothing in this tutorial needs it, but it is there if you want the factory to look softer.
Start with a plain HTML file and one script tag:
<script src="https://cdn.jsdelivr.net/npm/phaser@3.90.0/dist/phaser.min.js"></script>Then the config. Phaser.Scale.FIT keeps the whole play area visible, and CENTER_BOTH puts the leftover space on both sides instead of leaving the canvas jammed in a corner.
// One scene, one canvas. FIT scales the canvas to the window,
// CENTER_BOTH keeps it centred horizontally and vertically.
const COLS = 16, ROWS = 12, TILE = 44, HUD = 62;

const config = {
  type: Phaser.AUTO,
  width: COLS * TILE,          // 704
  height: ROWS * TILE + HUD,   // 592
  backgroundColor: '#0a0b14',
  scale: {
    mode: Phaser.Scale.FIT,
    autoCenter: Phaser.Scale.CENTER_BOTH
  },
  scene: [FactoryScene]
};

new Phaser.Game(config);
One Scene is enough. It holds the grid, the tick accumulator, the HUD text and the input handlers. If you have only written a single-sprite game before, this will feel familiar: create() sets up, update() runs.
How does a grid-based factory actually work?
The grid is a flat array of small objects like {type, dir}. The array is the truth; sprites are just a view drawn from it. The simulation reads and writes array cells only, never Phaser objects. That separation is what makes save files, upgrades and debugging manageable.
Here is the jargon in one clause: a “data-driven tile system” means the rules live in ordinary JavaScript objects, and the display layer copies from them. Your simulation code never asks a sprite where it is. It asks the array.
const TICK_MS = 260;   // one simulation step every 260ms

// A tile is plain data. Nothing here knows about Phaser.
function makeTile(x, y) {
  return { x, y, type: 'empty', dir: 1, item: null,
           cooldown: 0, buffer: 0, timer: 0, level: 1 };
}
// type: 'empty' | 'miner' | 'belt' | 'smelter' | 'chest'
// dir:  0 = up, 1 = right, 2 = down, 3 = left
// item: null | { kind: 'ore' } | { kind: 'plate' }
Build the grid in create() with a nested loop that pushes one makeTile(x, y) per cell, so grid[y * COLS + x] is a direct lookup. Then draw it with a single this.add.graphics() that you clear and repaint each frame: filled rectangles for tiles, small circles for items, and a this.add.text line for the HUD. One Graphics object is plenty at this size and it saves you from managing hundreds of sprites.
Input is a coordinate conversion. Use this.input.on('pointerdown', (pointer) => ...), then convert the pointer to a cell with Math.floor(pointer.x / TILE) and Math.floor((pointer.y - HUD) / TILE). Right-click or the R key bumps tile.dir, which is the only rotation state a belt has.
What is a tick loop, and why not just use update()?
A tick loop runs your simulation at a fixed interval while update() keeps firing every frame for input and drawing. You accumulate delta and spend it in fixed chunks. Item movement becomes stepped and repeatable, so a bug you see once happens again at the same point in the same tick.
delta is the milliseconds since the last frame, and it varies with frame rate. If belts moved “a bit per frame”, a slow machine and a fast machine would simulate differently, and a bug would be a timing coincidence instead of a reproducible event. The accumulator fixes that.
update(time, delta) {
  if (!this.paused) {
    this.acc += delta;
    // Spend the accumulated time in fixed chunks.
    while (this.acc >= TICK_MS) {
      this.acc -= TICK_MS;
      this.step();
    }
  }
  this.draw();   // drawing still runs every frame
}
step() is one pass over the grid. Every tile gets its chance to act, in a consistent order. Pausing is just a boolean that skips the while loop while still letting the render step run, so the SPACE key can freeze the factory mid-shift.
If a tick ever takes longer than expected, the while loop runs twice in one frame, which is the intended catch-up behaviour. Cap it with a maximum number of iterations per frame if you experiment with very small tick sizes.
How do you build the miner and conveyor belts?
A miner holds a small internal cooldown and pushes one ore onto the tile in front of it whenever that cooldown expires. Belts do the same thing with whatever item they hold, handing it to the next tile if that tile is empty, otherwise waiting.
One item per tile means each hand-off is a single check: is the next tile empty? A tile holds exactly one item, so there is no list to manage.
// Called once per tick for every belt tile.
pushFromBelt(tile) {
  if (!tile.item) return;                          // belt is empty
  const next = this.neighbourInDir(tile, tile.dir);
  if (!next || next.item || !this.accepts(next)) return;   // blocked: keep it

  next.item = tile.item;      // hand it over
  next.item.movedTick = this.tickCount;  // one move per tick, no double-step
  tile.item = null;
}
neighbourInDir() reads dir and returns the adjacent cell, or null if the belt points off the grid. accepts() is a small function that returns true for a belt, a smelter with buffer room, or a chest. Because that check lives in one place, adding a new tile type later means editing one function.
The miner is the same shape, except it manufactures the item. Each tick it advances a counter; when the counter wraps, it tries to place an ore on its output tile. If that tile is blocked, the ore is simply not created, which is exactly what you want. A backed-up belt should stall the miner, not delete resources.
Blocked handling is where most beginner factories break. Resist the urge to push through a full tile. Stalling is the signal the player reads to know they need more belts or another smelter.
You do not need physics for any of this. Phaser’s arcade physics provides groups, static and dynamic bodies, immovable bodies and collide callbacks, and all of it is the wrong tool for a data grid. Physics is for things that bounce. Belts are for things that wait their turn.
How do you make the smelter convert ore into plates?
The smelter is a belt with a recipe attached. It accepts ore into a small buffer, advances a tick timer while there is something to cook, and pushes a finished plate forward when the timer completes. Because the recipe is data, adding a second recipe is a new object in the table.
// Recipes are data, so a second one is a new object, not new code.
const RECIPES = { ore: { out: 'plate', ticks: 3 } };

processSmelter(tile) {
  if (tile.item && tile.item.kind === 'ore') { tile.buffer++; tile.item = null; }
  if (tile.buffer <= 0) return;
  if (tile.timer < RECIPES.ore.ticks) { tile.timer++; return; }

  const next = this.neighbourInDir(tile, tile.dir);
  if (next && !next.item && this.accepts(next)) {
    next.item = { kind: 'plate', movedTick: this.tickCount };
    tile.buffer--;
    tile.timer = 0;
  }
}
Notice that the timer counts ticks, not milliseconds. That is the payoff from the previous section: the smelter is deterministic, and a recipe of three ticks means exactly three simulation steps no matter what your monitor refresh rate is.
The smelter also refuses new ore once its buffer is full. That is a one-line guard in accepts() and it produces the satisfying visual of a smelter with glowing ore stacked at its mouth while you frantically lay more belt.
Recipes as data also make the click-to-upgrade story easier. A recipe can grow a ticks value that gets shorter with machine level, or an out value you swap for a different item later.
How do you add the chest, throughput counter, and upgrades?
The chest is a counter, not a container. Each time it receives a plate it increments a total and records the moment. Throughput is the count inside a rolling time window, scaled to a per-minute figure. Clicking a miner while you hold enough plates spends them and raises that miner’s speed.
For the rolling window, push this.time.now onto an array each time the chest receives a plate, then drop entries older than 60 seconds. The displayed rate is the remaining count, which is already per minute because the window is exactly one minute long. When a belt hands an item to a chest, call the chest’s collect function instead of parking the item on the tile — otherwise the plate sits there forever.
A HUD made of this.add.text objects is enough: one line for plates held, one for plates per minute, one for the current tool. Update the strings only when the numbers change, or every tick at most.
Upgrades close the loop. When the player clicks a placed miner, check the plate balance against the upgrade cost. If they can pay, subtract the plates and increment that miner’s level. Each level shortens the miner’s output interval by one tick, never below one tick. Now plates are both a score and a currency, which is what turns a demo into a game with a reason to optimise the belt layout.
Keep the cost curve gentle at first. The shipped build starts the first upgrade at ten plates and multiplies the price by about 1.6 each time, so a cheap first upgrade teaches the mechanic and a steeper second one pushes you toward building another miner.
How do you port this prototype to Phaser 4 later?
Phaser 4 arrived in April 2026 and replaced the v3 pipeline renderer with a render-node architecture, merging the FX and Mask systems into one Filter system. Phaser’s own migration article says projects using standard sprites, text and tilemaps need minimal changes. Your data-driven grid is mostly plain JavaScript, so it ports easily.
Two things to know conceptually. First, the render-node architecture changes how drawing is batched under the hood, not how you call this.add.rectangle or this.add.text. Second, the unified Filter system means one effect API that works on any game object or camera, instead of reaching for separate FX and Mask systems.
The details are in Phaser’s comparison of Phaser 3 and Phaser 4. Read it before you migrate rather than after.
Because your simulation never touches Phaser objects, the port is mostly a config change and a check of your display code. That is the real argument for data-driven design: the game logic is portable, and only the thin drawing layer cares which major version you are on.
If you do want physics-driven pieces later, Phaser’s Group concept lets you manage sets of game objects together, but this prototype does not need it and the grid stays simpler without it.
Play the prototype
The prototype below is the build this tutorial describes. Place a miner, run belts from its output tile, add a smelter, then a chest. The throughput counter climbs as plates arrive. The controls table lists every input the shipped build accepts.
| Action | Control |
|---|---|
| Place Miner | click with the Miner tool |
| Place Belt | click with the Belt tool |
| Place Smelter | click with the Smelter tool |
| Place Chest | click with the Chest tool |
| Rotate belt | right-click or press R |
| Delete tile | press X then click |
| Pause | SPACE |
| Upgrade miner | click a placed miner while holding enough plates |
| Restart | press 0 |
Try this first: press 0 to restart, watch the starter line deliver plates, then delete the chest and rebuild the line one tile longer. Watch the counter for a few seconds, then add a second miner feeding the same smelter line and see what the smelter’s input buffer does.
What you learned
You learned to keep a game world in a data array, run a fixed tick loop inside update(), and let each tile type move items by one step per tick. You also wired a timer-based smelter, a throughput counter and a click-to-upgrade loop on top.
The bigger lesson is the split. Your simulation is a function of the grid and a tick count. Your rendering is a function of the grid. Once those two stop knowing about each other, features get cheap: a new tile type is a new case in three small functions.
Four concrete next steps, roughly in order of difficulty:
- Splitter belts. A tile that alternates its output between two neighbours. You need a small bit of state per tile and a rule for what happens when one side is blocked.
- A second recipe. Add a plate-to-gear recipe and a filter on belts so only ore enters the smelter. The recipe table already supports this shape.
- Save and load. Because the grid is plain JSON,
JSON.stringifyon the array is most of the work. Load it back and rebuild the display layer. - Multiple miners feeding one line. Merge two belt lines onto one and tune the smelter count until the counter stops climbing. This is where the throughput counter earns its place.
FAQ
Short answers to the three questions beginners ask most about this prototype: whether belts need arcade physics, why a tile holds only one item, and what to build next once the miner-to-chest loop works and you want more depth in the game.
Do belts need arcade physics?
No. Physics is for collision, momentum and overlap detection between bodies that move freely. Your items move on a schedule between fixed cells, so a data swap is both simpler and easier to debug. Physics would add a source of nondeterminism you then have to fight.
Why one item per tile?
Because it makes every hand-off a two-line swap with an obvious blocked case. The moment a tile holds a list, you need ordering rules, partial moves and a rendering decision for stacked items. One item per tile gives you back-pressure for free, which is the mechanic the whole genre is built on.
What should I add next?
Add the splitter. It is the smallest feature that forces you to think about blocked outputs and balancing, and it immediately makes layouts more interesting. After that, save and load gives you persistence, and a second recipe gives the factory a reason to have two production stages instead of one.