Beginner's Guide to Phaser Performance Optimization 2026
If you’re wondering how to optimize Phaser game performance for beginners, the short answer is: measure your FPS first, then apply a handful of proven techniques. This guide walks you through seven practical optimizations from Phaser’s own community, so you can hold a steady 60fps on desktop and mobile. You’ll learn exactly what to change in your game code, with copy-paste snippets and official sources for every claim.
How This Guide Was Built
This guide is based entirely on Phaser’s official documentation, tutorials, and news articles — not on hands-on lab testing. We have not benchmarked games on real devices or run our own performance experiments. Instead, we’ve carefully read and distilled the official sources linked throughout this post, so every technique and statistic traces back to Phaser’s own published guidance. This keeps the advice accurate and trustworthy for beginners.
What Does Phaser Performance Mean for a Beginner?
Phaser performance means keeping your game running at a smooth 60 frames per second (fps) on the devices your players actually use. Phaser is a free, open-source HTML5 game framework with both WebGL and Canvas rendering, active for 10+ years, per Phaser’s official docs. For a beginner, performance is simply about removing the stutters and drops that make a game feel unresponsive.
How Do I Optimize Phaser Game Performance for Beginners?
Optimizing Phaser performance for beginners starts with measuring your FPS, then applying seven proven techniques: FPS counters, object pooling, caching references, selective game-loop processing, compressing assets, lazy loading, and experimenting with canvas size and rendering method, all documented in Phaser’s official performance article. You’ll also benefit from Phaser 4’s rendering overhaul, which is current in 2026, per Phaser’s project setup tutorial.
1. Measure Your FPS First
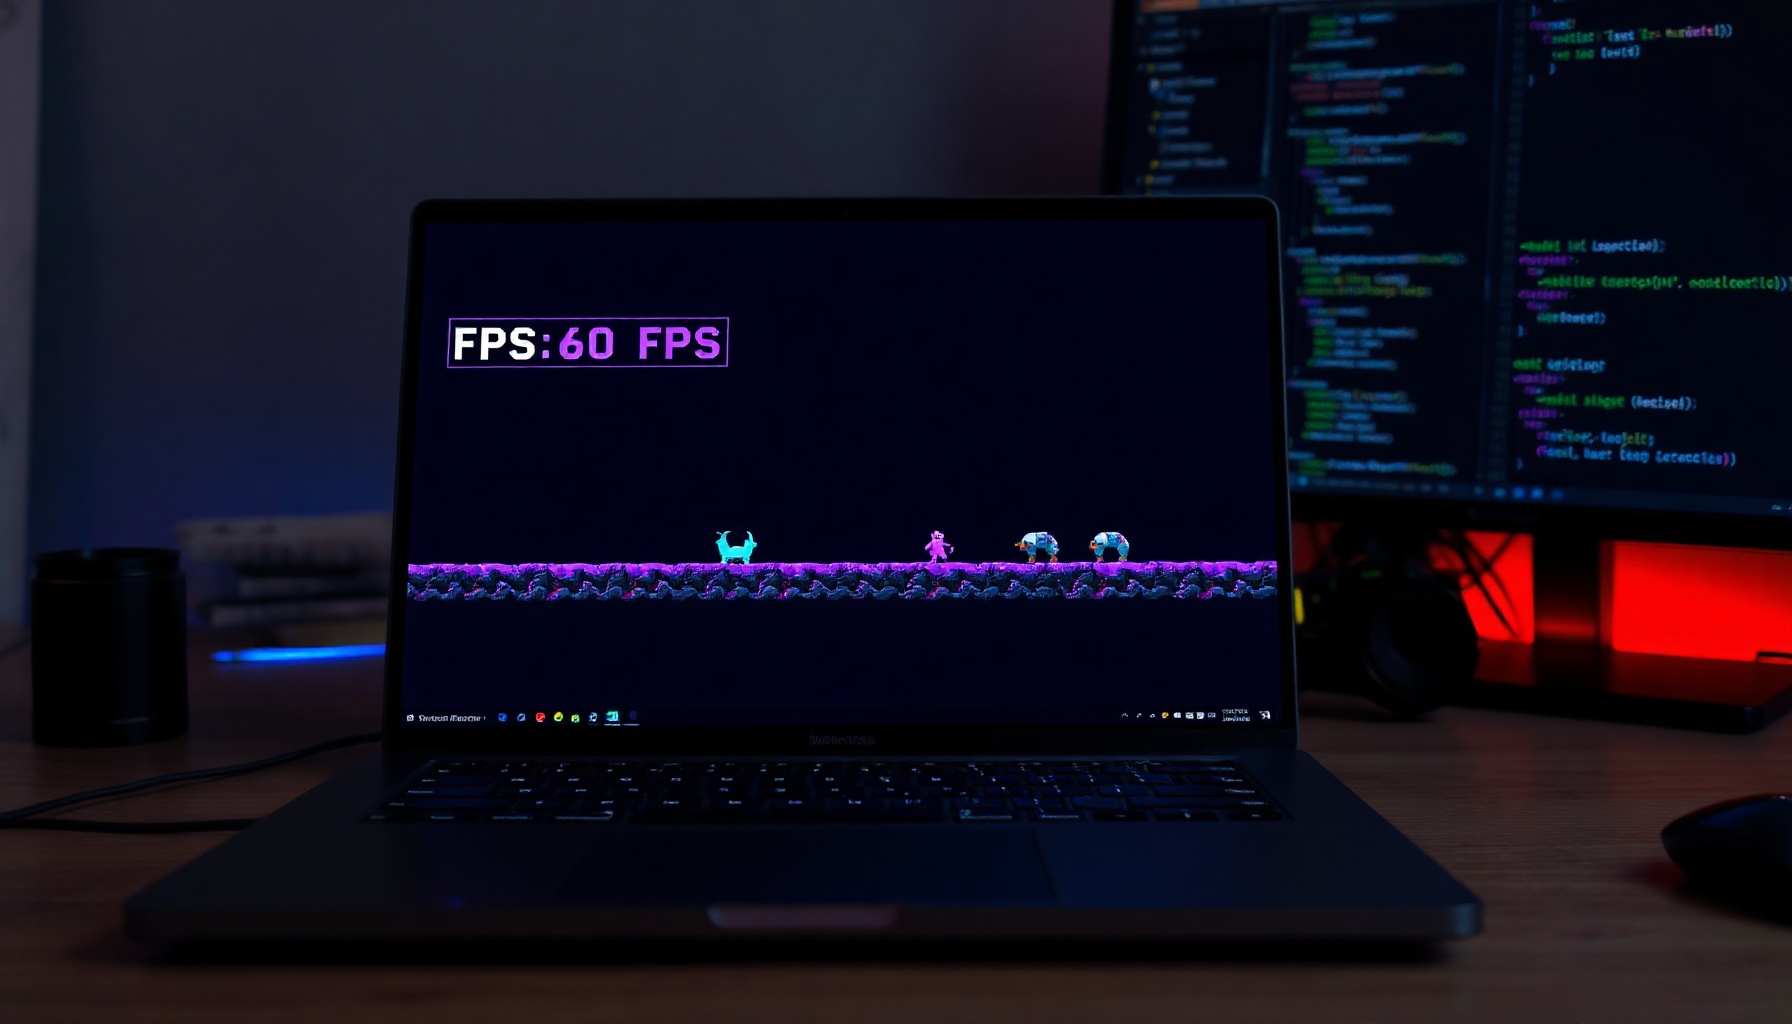
Never guess where the bottleneck is. Add a simple FPS counter to your scene so you can see your real performance baseline before changing anything.
// Add this to your scene's create() method
this.fpsText = this.add.text(10, 10, '', { font: '16px monospace' });

// In update(), refresh it every frame
this.fpsText.setText(`FPS: ${Math.round(this.game.loop.actualFps)}`);
2. Use Object Pooling
Object pooling prevents memory leaks and garbage collection hitches. Instead of creating and destroying sprites constantly, reuse them from a pool.
// Create a pool of 50 bullets
const bullets = this.add.group({ maxSize: 50 });

// Fire a bullet: get a dead one, or create if none available
const bullet = bullets.get();
if (bullet) {
    bullet.setActive(true).setVisible(true);
    bullet.setPosition(this.player.x, this.player.y);
}
3. Cache References
Don’t look up objects or textures every frame. Store references once in create() and reuse them in update(). This avoids expensive lookups and keeps your game loop lean.
4. Process Selectively in the Game Loop
Only update what needs updating each frame. Skip logic for off-screen objects, and use flags to pause work when the game isn’t actively playing.
5. Compress Your Assets
Large textures and audio files hurt load times and memory. Use compressed formats like WebP for images and compressed audio codecs. Smaller assets mean faster loads and less GPU pressure.
6. Lazy Load Non-Essential Content
Load critical assets at startup, then lazy-load the rest when the player actually needs them. This keeps the initial load fast and reduces memory usage.
// Load a level only when the player reaches its trigger
this.load.image('level2-bg', 'assets/level2-bg.webp');
this.load.once('complete', () => {
    this.add.image(400, 300, 'level2-bg');
});
this.load.start();
7. Experiment with Canvas Size and Renderer
Don’t assume WebGL is always faster. Switching from WebGL to Canvas boosted performance by 30% on older devices — contrary to assumptions about hardware acceleration, per Phaser’s official performance article. Try both renderers and reduce your canvas resolution to see what works on your target devices.
What Are the Most Common Performance Mistakes?
The most common beginner mistakes include using smooth-scrolling camera follow incorrectly, assuming WebGL is always faster, failing to pool objects, and skipping measurement before optimizing. The biggest performance killer is smooth-scrolling camera follow; scrolling must run as close to 60 FPS as possible with little variation, per The Botanist’s Phaser tuning notes. Always profile first, then apply targeted fixes.
FAQ
Is Phaser free to use?
Yes, Phaser is completely free and open-source. It’s an HTML5 game framework with both WebGL and Canvas rendering, and it’s been actively developed for over 10 years, per Phaser’s official docs. You can use it for commercial projects without paying any licensing fees.
Do I need WebGL for a fast Phaser game?
No, not necessarily. While Phaser 3/4 can typically render tens of thousands of sprites with good performance, per Phaser’s rendering concepts guide, WebGL isn’t always the fastest option. On older devices, switching from WebGL to Canvas boosted performance by 30%, per Phaser’s official performance article. Test both renderers on your target hardware.
How do I check my game’s FPS?
Add a simple FPS counter to your scene using this.game.loop.actualFps in your update() method, as shown in the code snippet earlier. This gives you a real-time readout. Alternatively, use your browser’s developer tools to profile rendering performance.
Where to Go Next
Now that you can measure and fix performance, explore more of our content to level up your game development skills. Start with our frameworks hub to compare Phaser with other tools, or browse our games collection for inspiration. For deeper learning, check out our Phaser vs PixiJS vs Three.js comparison, our Phaser breakout tutorial, and our AI game debug guide to keep improving your craft.