Phaser Scene Flow for Beginners: Title, Game, Pause, and Game Over
Phaser games are easier to build when each screen is its own Scene: a title screen, the game itself, a pause overlay, and a game-over screen. This guide shows that four-screen loop in one HTML file and explains the two tools that drive it, the Scene Plugin at this.scene and the global Registry. The playable demo below runs this exact flow.
This guide is based on Phaser’s official documentation — we did not run this on real devices. The docs pages consulted are for Phaser v4.1.0. The demo loads Phaser 3 from a CDN, and we did not check each method against the Phaser 3 docs separately.
What a Scene actually is (and why your game needs several)
A Scene is a self-contained section of your game, with its own display list, update loop, input plugin, camera manager, and loader plugin for its own assets. Phaser’s docs list typical uses such as a Loading Screen, a Main Menu, a Game Level, a Boss Fight, or a High Score Table, and the Phaser Scenes docs describe the Scene Manager as the thing you use to add, remove, and switch between them.
Beginners often put every screen in one create() function and then struggle the first time they need a pause menu or a restart. Separate Scenes give each screen one job, so the title code never has to know how gameplay works.
Setting up Boot, Title, Game, Pause, and Game Over Scenes
You register each Scene in the game config’s scene property, either as a single class or as an array. The scene config types define what that property accepts. Each class names itself with super('Key'), and that key is how other Scenes route to it. The Scenes docs state that create() is the only requirement for a valid Scene; the Scene class reference covers the optional init() and preload(), and the Game class is what new Phaser.Game(config) creates.
Save this as an .html file and open it in a browser. It loads Phaser 3 from a CDN:
<!DOCTYPE html>
<html lang="en">
<head>
  <meta charset="UTF-8">
  <title>Scene Flow Demo</title>
  <script src="https://cdn.jsdelivr.net/npm/phaser@3/dist/phaser.min.js"></script>
</head>
<body style="margin:0; background:#0b0614;">
<script>
const WIDTH = 800, HEIGHT = 600;
const STYLE_BIG = { fontSize: '48px', color: '#c084fc' };
const STYLE_SMALL = { fontSize: '22px', color: '#ffffff' };

class BootScene extends Phaser.Scene {
  constructor() { super('Boot'); }
  create() { this.scene.start('Title'); }
}

class TitleScene extends Phaser.Scene {
  constructor() { super('Title'); }
  create() {
    this.registry.set('score', 0);
    this.add.text(WIDTH / 2, HEIGHT / 2 - 60, 'SCENE FLOW', STYLE_BIG).setOrigin(0.5);
    this.add.text(WIDTH / 2, HEIGHT / 2 + 10, 'Press ENTER to play', STYLE_SMALL).setOrigin(0.5);
    this.input.keyboard.once('keydown-ENTER', () => {
      this.scene.start('Game', { level: 1 });
    });
  }
}

class GameScene extends Phaser.Scene {
  constructor() { super('Game'); }
  init(data) { this.level = (data && data.level) || 1; }
  create() {
    this.paused = false;
    this.add.text(20, 20, 'Level ' + this.level, STYLE_SMALL);
    this.scoreText = this.add.text(20, 55, 'Score: ' + this.registry.get('score'), STYLE_SMALL);
    this.add.text(20, HEIGHT - 40, 'SPACE: +1   P: pause   X: end run', { fontSize: '18px', color: '#a1a1aa' });

    this.input.keyboard.on('keydown-SPACE', () => {
      if (this.paused) return;
      this.registry.set('score', this.registry.get('score') + 1);
      this.scoreText.setText('Score: ' + this.registry.get('score'));
    });
    this.input.keyboard.on('keydown-P', () => {
      if (this.paused) return;
      this.paused = true;
      this.scene.pause();       // freeze this Scene, keep its state
      this.scene.run('Pause');  // start the overlay alongside it
    });
    this.input.keyboard.on('keydown-X', () => {
      if (this.paused) return;
      this.scene.start('GameOver');
    });

    this.events.once('shutdown', () => {
      this.input.keyboard.off('keydown-SPACE');
      this.input.keyboard.off('keydown-P');
      this.input.keyboard.off('keydown-X');
    });
    this.events.on('resume', () => { this.paused = false; });
  }
}

class PauseScene extends Phaser.Scene {
  constructor() { super('Pause'); }
  create() {
    this.add.text(WIDTH / 2, HEIGHT / 2, 'PAUSED\nPress ENTER to resume', STYLE_SMALL)
      .setOrigin(0.5).setAlign('center');
    this.input.keyboard.once('keydown-ENTER', () => {
      this.scene.resume('Game'); // unfreeze Game, state intact
      this.scene.stop();         // close the overlay
    });
  }
}

class GameOverScene extends Phaser.Scene {
  constructor() { super('GameOver'); }
  create() {
    const score = this.registry.get('score');
    this.add.text(WIDTH / 2, HEIGHT / 2 - 40, 'GAME OVER', { fontSize: '48px', color: '#f87171' }).setOrigin(0.5);
    this.add.text(WIDTH / 2, HEIGHT / 2 + 20, 'Final score: ' + score + '\nPress ENTER for title', STYLE_SMALL)
      .setOrigin(0.5).setAlign('center');
    this.input.keyboard.once('keydown-ENTER', () => { this.scene.start('Title'); });
  }
}

new Phaser.Game({
  type: Phaser.AUTO,
  width: WIDTH,
  height: HEIGHT,
  backgroundColor: '#0b0614',
  scale: { mode: Phaser.Scale.FIT, autoCenter: Phaser.Scale.CENTER_BOTH },
  scene: [BootScene, TitleScene, GameScene, PauseScene, GameOverScene]
});
</script>
</body>
</html>
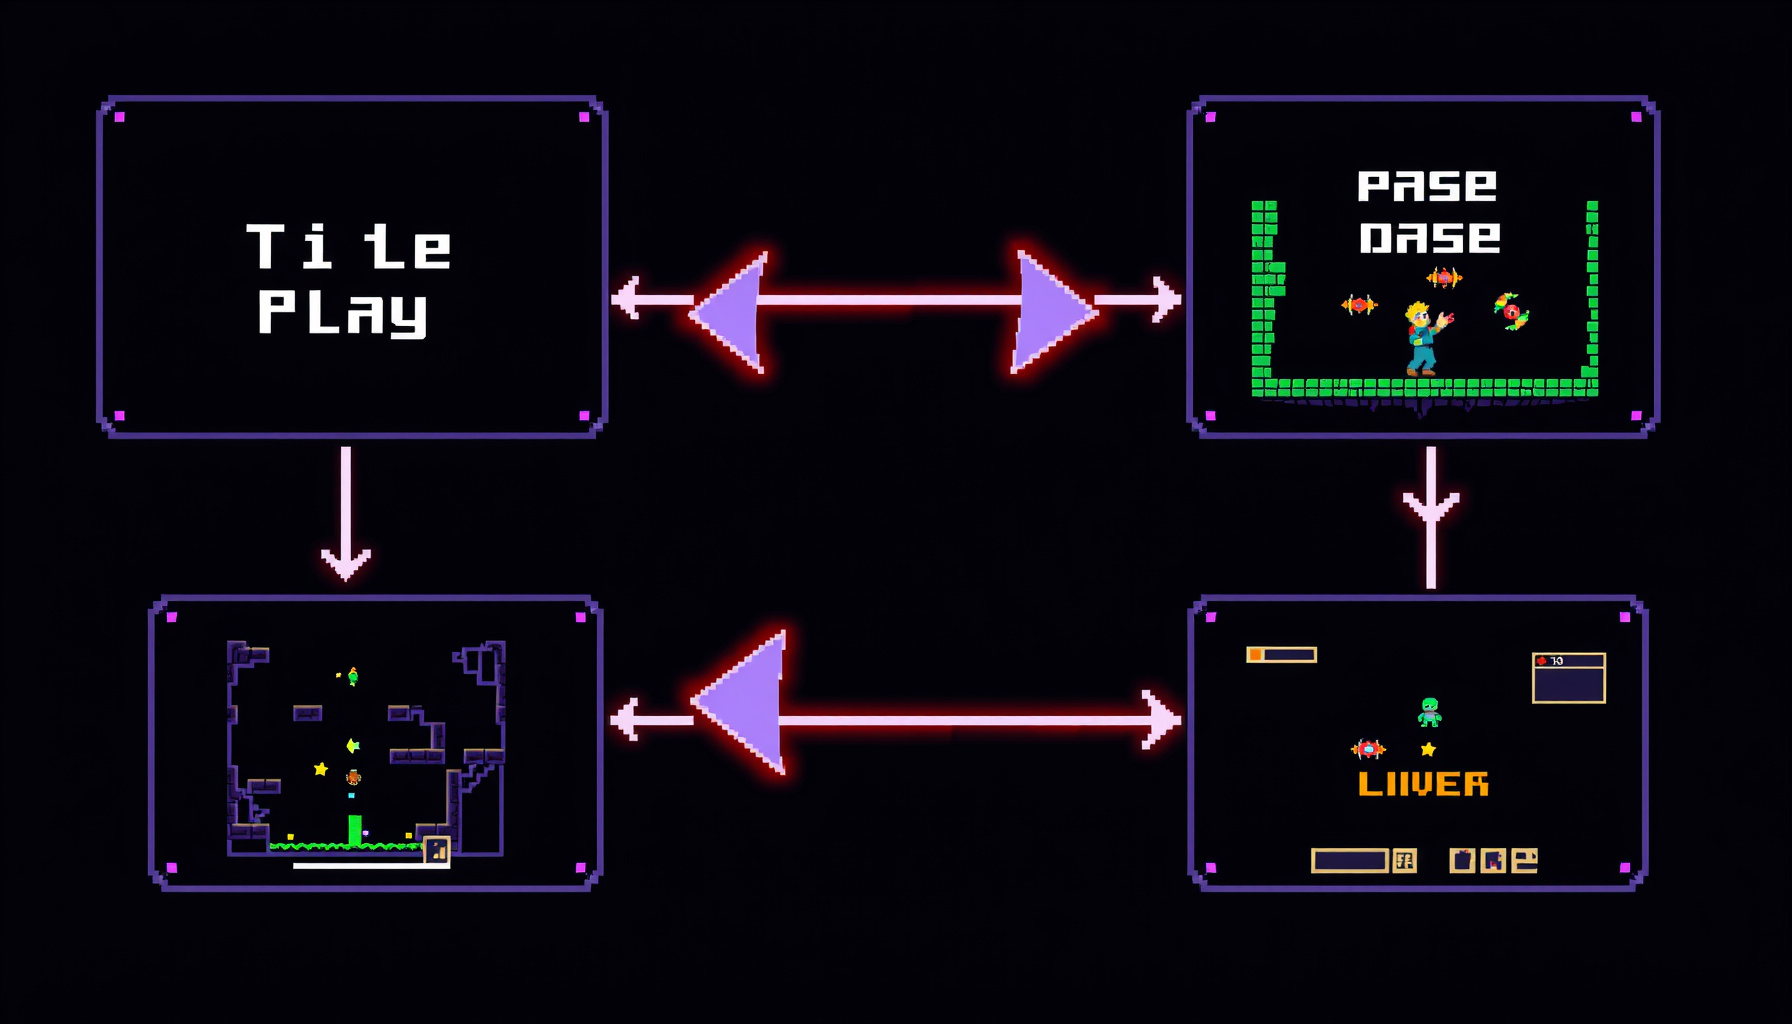
The loop reads Title → Game → Pause (overlay) → Game → Game Over → Title. Each arrow is one this.scene call, covered below. The BootScene is a placeholder: it does nothing except hand off to Title, so you can replace it with a loader screen later.
The this.scene plugin — your one door to scene control
Inside any Scene, this.scene is the Scene Plugin. It gives you pause, resume, sleep, wake, start, stop, run, and remove for other Scenes. The Scene Manager API page says you should not usually interact with the Scene Manager directly, because calling it directly breaks queued operations. Use this.scene in game code.
Title → Game: starting a Scene and passing data with start(key, data)
this.scene.start('Game', { level: 1 }) launches the Game Scene and passes the object you gave it. Phaser stores that object as the Scene’s settings data and hands it to both init and create. GameScene.init(data) reads data.level and falls back to 1 when nothing is passed.
Starting a Scene is how you enter it. The Scene that calls start is the one that exits.
Pausing without leaving: pause/resume vs. sleep/wake
The Scenes docs describe three lifecycle pairs: pause-resume, sleep-wake, and shutdown-start. The example uses pause and resume so Game keeps its state while the overlay is up.
this.scene.pause()freezes the calling Scene (the Game).this.scene.run('Pause')starts the overlay Scene so it runs next to the frozen one.this.scene.resume('Game')unfreezes Game, andthis.scene.stop()closes the overlay.
The Scene Plugin is not the only place physics comes from: a Scene that needs collisions uses the Arcade physics system, and this guide’s demo does not use it.
The lifecycle events you can listen for are pause, resume, sleep, wake, shutdown (when a Scene is stopped), and destroy (when a Scene is removed). This guide does not demonstrate sleep and wake, so test them in your own game before you rely on them.
Game over and cleanup: stop, shutdown, and the full loop
Stopping a Scene fires its shutdown event, which is where you can remove listeners the Scene added. The example’s GameScene removes its key listeners there. Explicit cleanup is a safe habit; this guide did not test whether Phaser would stack the listeners without it, so keep the cleanup either way. Game Over ends with this.scene.start('Title'), which exits Game Over and enters Title in one step.
// Inside GameScene.create()
this.events.once('shutdown', () => {
  this.input.keyboard.off('keydown-SPACE');
  this.input.keyboard.off('keydown-P');
  this.input.keyboard.off('keydown-X');
});
Game Over ends with this.scene.start('Title'), which exits Game Over and enters Title in one step.
Sharing data across scenes with the Registry
The Registry, reached as this.registry, is one store shared by the whole game. The score that Game writes is the value Game Over reads. Other systems stay local to their Scene. Per the Scenes docs, tweens, physics, game objects, input, and cameras each belong to one Scene, and a tween created in Scene A is completely separate from one in Scene B. The per-Scene data manager is a separate store, so keep cross-Scene values in the Registry.
Use start(key, data) for values tied to one transition, such as the level to load next. Use the Registry for values several Scenes need over time, such as a score.
// TitleScene.create(): reset the score for a new run
this.registry.set('score', 0);

// GameScene: add a point
this.registry.set('score', this.registry.get('score') + 1);

// GameOverScene: read the final score
const score = this.registry.get('score');
FAQ
What’s the difference between pausing and sleeping a Scene?
Pause suspends a Scene and resumes it with its state intact, which is what the example’s Game does while the overlay is open. Sleep is the other lifecycle pair. This guide did not test its behavior, so check the Scenes docs and try it in a small test scene before you build around it.
Should I pass data with start(key, data) or use the Registry?
Use start(key, data) for a value that belongs to one specific transition. Use the Registry for a value that several Scenes read over time, such as a score that Game writes and Game Over reads.
Why can’t I just call the Scene Manager directly?
The Scene Manager queues operations so Scenes change in a predictable order. Bypassing that queue can break it. The Scene Plugin at this.scene gives you the same operations through the safe path, so use it for every scene change.
The loop is Title → Game → Pause → Game → Game Over → Title, and the Registry carries the score through all of it.