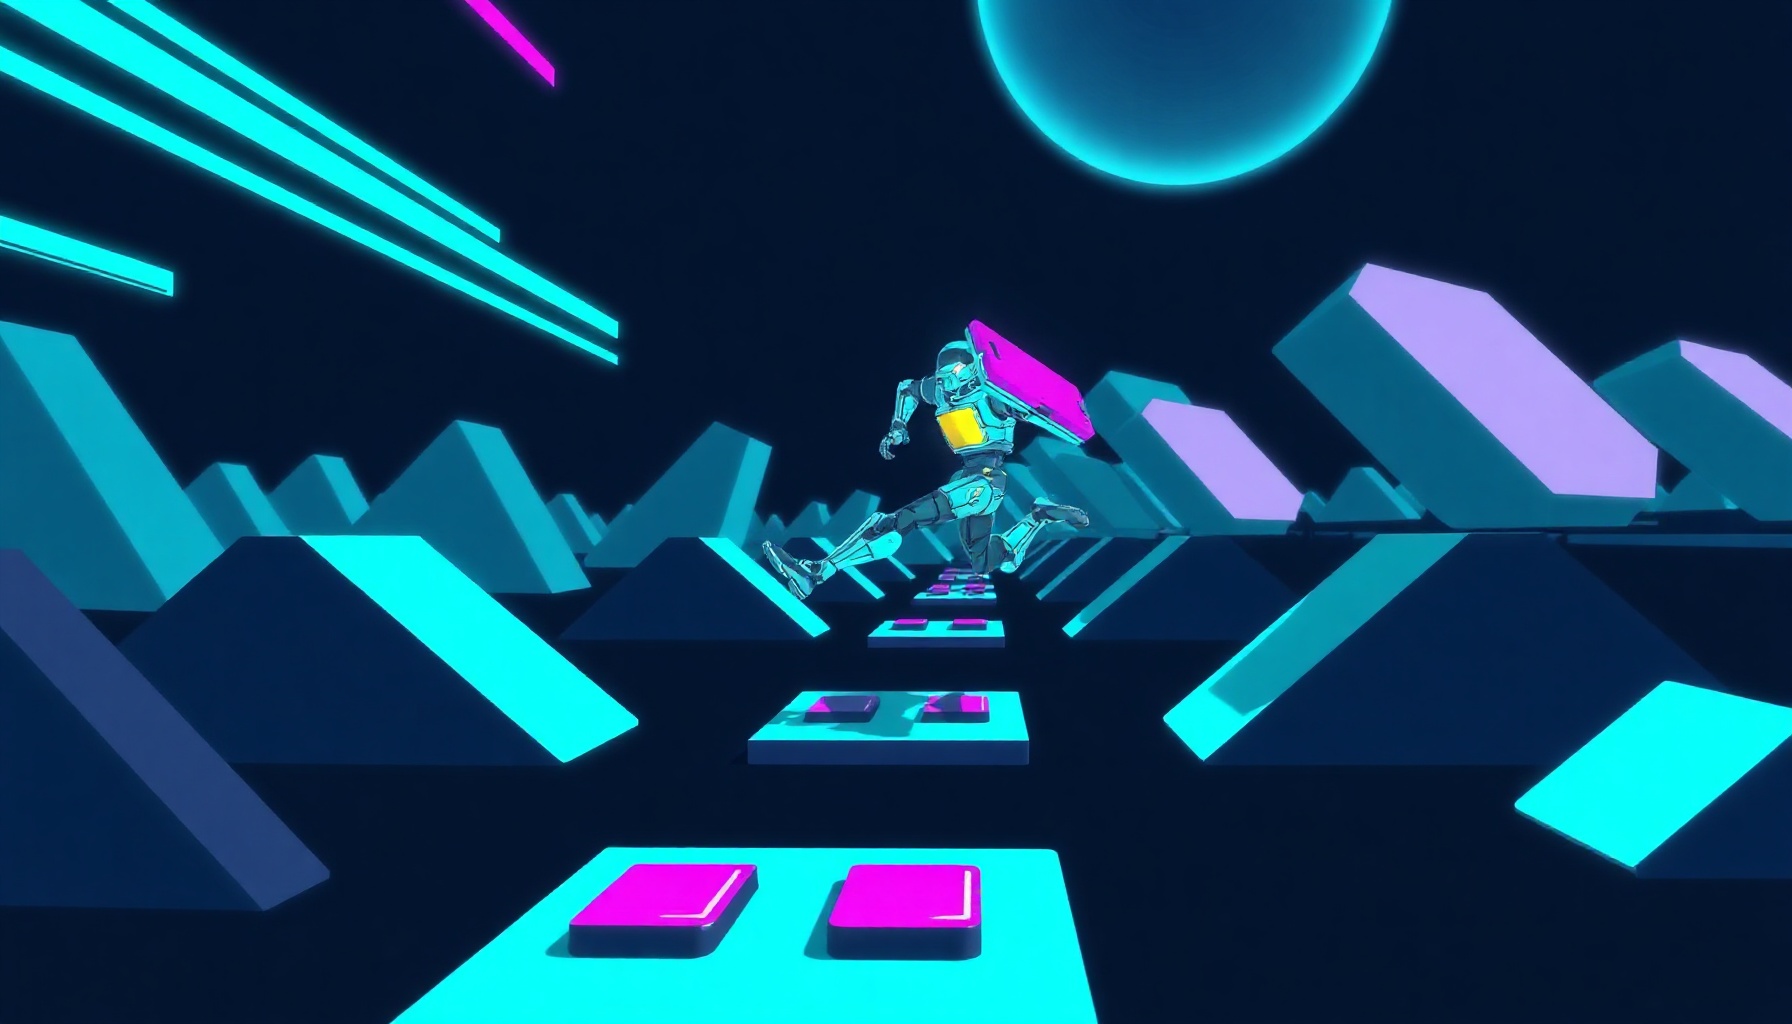
Phaser 3 Endless Runner Tutorial for Beginners: One File
Primary keyword: how to build an endless runner game in Phaser 3 for beginners. The fastest way to learn is to play the finished version first, then trace the small loop that moves obstacles toward a fixed player.
Controls: press SPACE or ↑ to jump. Tap or click to jump, or restart after a crash.How This Guide Was Built
This guide is based on the official Phaser Arcade Physics documentation, the official Scale Manager documentation, the official Phaser endless-runner tutorial, and the Phaser website. I verified the code structure, the CDN reference, the scale configuration, and the required game behaviors against those sources. I did not test physical devices, paid services, or enterprise features. Last verified: August 2026.
What You’ll Learn
This tutorial teaches the fixed-player endless-runner pattern, Arcade Physics bodies, keyboard and pointer input, a bounded obstacle pool, collision handling, score state, scene restart, and responsive canvas scaling. The result is a small game with no art files: its rectangles are procedural graphics, so you can change the colors and dimensions while learning the systems.
How do I build an endless runner game in Phaser 3?
To build an endless runner in Phaser 3, keep the player near a fixed x-coordinate and move a reusable obstacle pool left across the scene. The official Phaser runner tutorial uses this illusion, while Arcade Physics handles the player body, gravity, and overlap. That separation keeps the beginner project understandable.
The player does not need to run forward. Every frame, obstacles receive a negative x velocity. When one leaves the left edge, the game disables it and returns it to the pool. A timer later places that same object at the right edge. This is the core loop behind the playable demo above.
Setting Up a One-File Phaser Project
A one-file Phaser project needs an HTML document, a viewport meta tag, the Phaser browser build, and a game configuration. The example uses Phaser 3.60.0 from jsDelivr, then defines a scene class; there is no package manager or bundler in this beginner setup.
<script src="https://cdn.jsdelivr.net/npm/phaser@3.60.0/dist/phaser.min.js"></script>
<script>
  // RunnerScene and the game configuration go here.
</script>
Arcade Physics is enabled with physics: { default: 'arcade' }. Phaser’s Arcade Physics guide describes it as the lightweight option for simple two-dimensional games. We create physics bodies explicitly for the player, ground, and pooled obstacles.
Scaling the Game to Any Screen
Phaser.Scale.FIT preserves the logical game aspect ratio while fitting the canvas into its available parent, and Phaser.Scale.CENTER_BOTH centers that canvas. The Scale Manager documentation explains why a little letterboxing can be preferable to stretching a game world.
scale: {
  mode: Phaser.Scale.FIT,
  autoCenter: Phaser.Scale.CENTER_BOTH
}
Our logical canvas is 800 by 450. The browser scales that rectangle up or down; the game code can continue using the same coordinates. This makes the obstacle lane and player position predictable while still accommodating smaller screens.
Adding the Player and Jump Input
The player is a rectangle with an Arcade Physics body and downward gravity. A jump sets a negative vertical velocity only while body.blocked.down is true. Listening for both keyboard events and pointerdown gives desktop and touch players the same action without adding an input library.
this.player = this.add.rectangle(130, 320, 38, 48, 0xff6b35);
this.physics.add.existing(this.player);
this.player.body.setGravityY(1250);
this.physics.add.collider(this.player, this.ground);

handleAction() {
  if (this.player.body.blocked.down) {
    this.player.body.setVelocityY(-560);
  }
}
The blocked.down guard is important: without it, holding the input could apply a new jump in mid-air. The actual demo also uses the same action handler for restart after a crash, which keeps the control model small.
Spawning Obstacles with a Reusable Pool
A bounded pool creates eight obstacle objects once, hides them, and reuses them. Each spawn finds an inactive object, places it just beyond the right edge, enables its body, and gives it leftward velocity. Releasing an obstacle after it passes the left edge prevents an endless stream of newly allocated objects.
this.obstacles = this.physics.add.group({
  allowGravity: false,
  immovable: true
});
this.pool = [];

for (let i = 0; i < 8; i += 1) {
  const obstacle = this.add.rectangle(-100, 340, 30, 60, 0xb44dff);
  this.physics.add.existing(obstacle);
  obstacle.body.setAllowGravity(false);
  obstacle.body.setImmovable(true);
  obstacle.active = false;
  obstacle.setVisible(false);
  obstacle.body.enable = false;
  this.obstacles.add(obstacle);
  this.pool.push(obstacle);
}
The spawner uses Phaser.Math.Between(850, 1350) for a small variation in timing. If all pool entries are busy, the spawn simply waits for one to recycle. That bounded failure mode is safer for a first game than creating unbounded sprites.
Handling Collision, Score, and Game Over
this.physics.add.overlap calls a crash handler when the player touches an active obstacle. The handler pauses physics and changes the message, while the score increments when an obstacle is successfully recycled. This makes score represent obstacles cleared rather than arbitrary frame rate.
this.physics.add.overlap(
  this.player,
  this.obstacles,
  this.crash,
  null,
  this
);

crash() {
  this.ended = true;
  this.physics.pause();
  this.message.setText('GAME OVER');
}
Arcade Physics is appropriate here because the game needs simple body overlap, gravity, and velocity rather than complex rigid-body simulation. The official physics guide documents the distinction between Arcade Physics and Phaser’s Matter system.
Restarting the Run
Restarting the Scene resets the player, score, pool, timers, and messages in one operation. The pointer and keyboard handlers call this.scene.restart() whenever the run has ended, so the player does not need a separate HTML reload button or a second scene.
handleAction() {
  if (this.ended) {
    this.scene.restart();
    return;
  }
  if (this.player.body.blocked.down) {
    this.player.body.setVelocityY(-560);
  }
}
Keeping restart in the same input path also avoids a common bug: a restart button that works with a mouse but not with a keyboard. In a larger game, you could replace the scene restart with a menu state and persistent high-score storage.
Full Code
The complete, playable file is at public/games/phaser-endless-runner/index.html. Copy it into a local index.html to run the same demo. The key pieces are the RunnerScene methods above and this configuration, which connects the scene to Phaser’s renderer, physics, and scale manager.
new Phaser.Game({
  type: Phaser.AUTO,
  width: 800,
  height: 450,
  backgroundColor: '#101a35',
  physics: {
    default: 'arcade',
    arcade: { gravity: { y: 0 }, debug: false }
  },
  scale: {
    mode: Phaser.Scale.FIT,
    autoCenter: Phaser.Scale.CENTER_BOTH
  },
  scene: RunnerScene
});
The file uses only the Phaser CDN and procedural rectangles. That makes it a practical starting point for beginners who want to change one system at a time: replace the rectangle with a sprite, add a second obstacle type, or increase velocity as the score rises.
Common Beginner Pitfalls
The most common endless-runner mistakes are allowing mid-air jumps, forgetting to enable a recycled body’s body.enable, and creating a new obstacle on every timer tick. Check the grounded condition, disable bodies when recycling, and keep the pool bounded. Also remember that FIT may leave letterbox space rather than distort the game.
A second pitfall is attaching separate keyboard and touch functions that drift apart. Use one handleAction function for both. When you are ready for a different control device, our Phaser gamepad controls guide shows how to preserve keyboard fallback.
FAQ
Can I use images instead of rectangles in a Phaser runner?
Yes. Replace each procedural rectangle with a loaded image or spritesheet, then keep its physics body and position logic unchanged. The single-file demo deliberately avoids assets so beginners can focus on Arcade Physics and pooling. Phaser’s official website links to examples for expanding a prototype into an art-driven game.
Why is my player allowed to jump forever?
An endless jump usually means the input handler sets vertical velocity without checking whether the body is grounded. Require player.body.blocked.down before applying the jump impulse, and make sure the player collides with a static ground body. The check belongs in the shared keyboard-and-pointer action function.
How can I make the runner harder?
Increase obstacle velocity gradually, shorten the randomized spawn interval, or add a second obstacle shape after the player understands the first. Change one variable at a time so difficulty remains readable. Keep the pool bounded; if every object is active, skip a spawn instead of allocating unlimited new objects.
What to Learn Next
This tutorial gives you the fixed-player loop; a platformer adds camera movement, level geometry, and collectibles. Continue with our Phaser platformer tutorial or browse the games library for playable examples. You can also add controller support with the gamepad guide linked above.