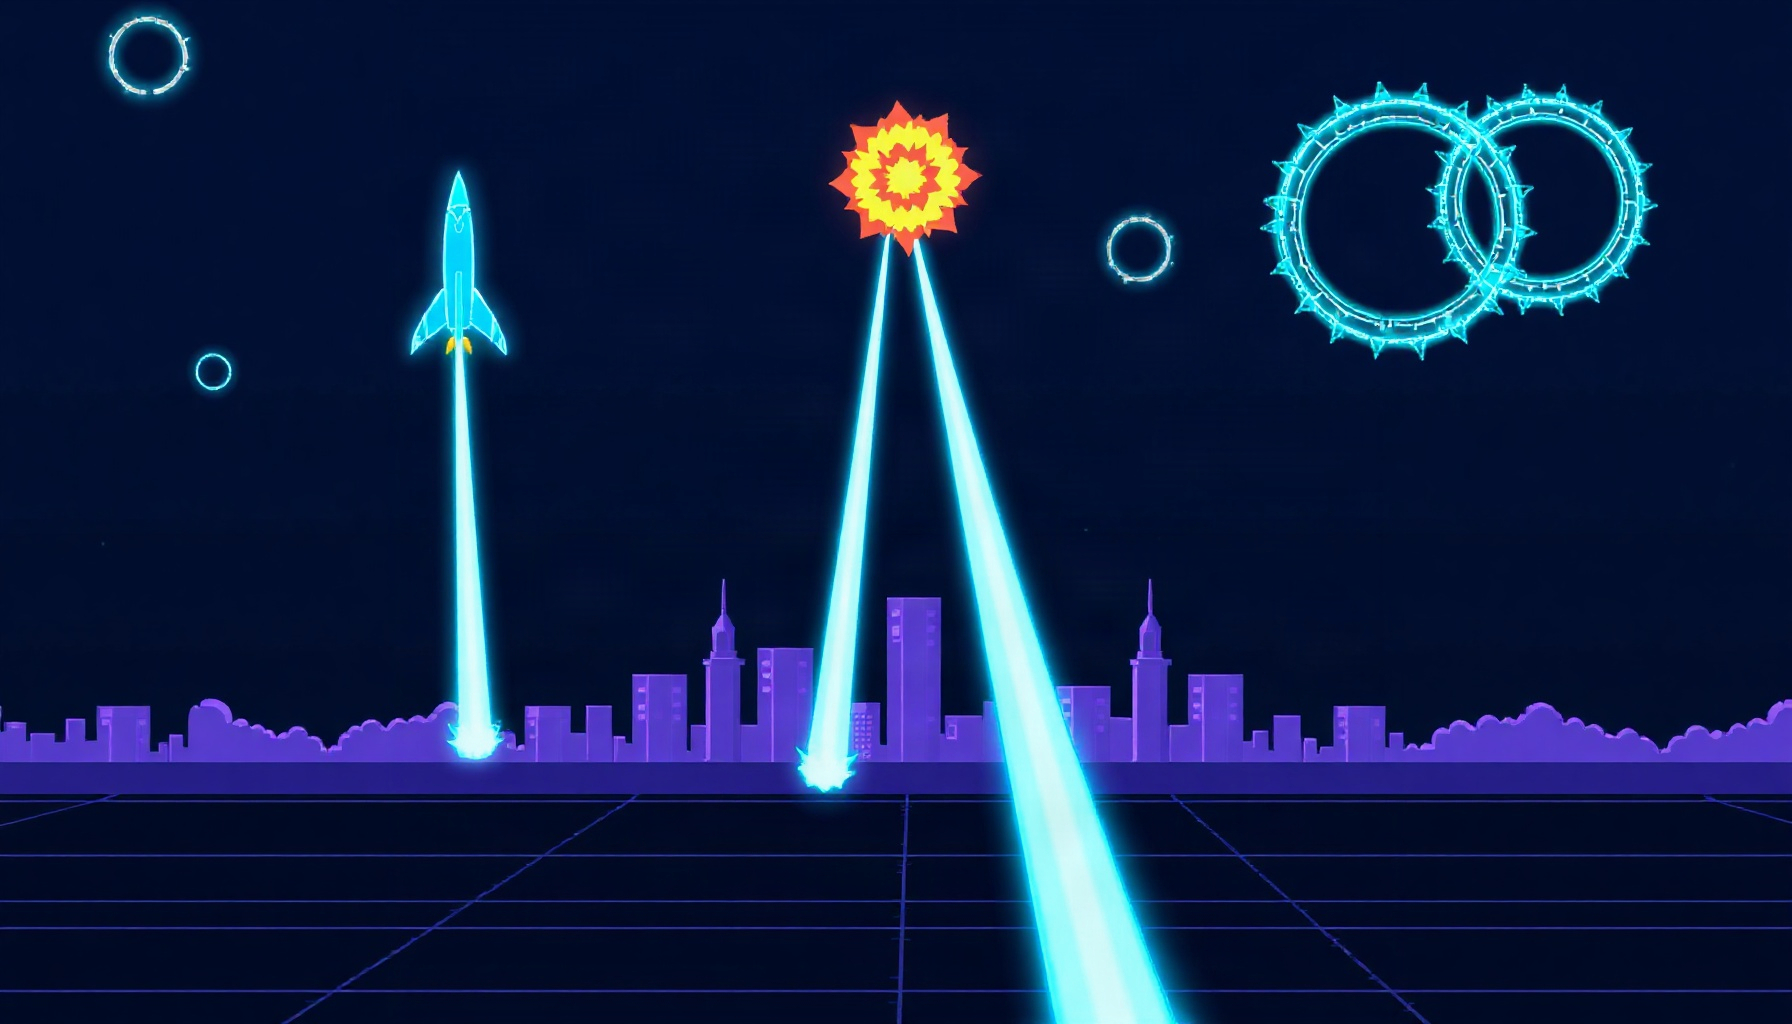
Build Missile Command in JavaScript with Phaser 3
If you want to know how to build Missile Command in JavaScript, the honest answer is that you can get a playable version running in a single HTML file with Phaser 3 — no build tools, no image assets, just procedural graphics and a few hundred lines of code. This tutorial walks you through every mechanic, from a single falling missile to MIRV warheads and smart bombs, and ends with the complete game you can copy, paste, and play right now.
Controls: Click or tap to fire an interceptor from the nearest battery with ammo · SPACE launches a smart bomb when you’ve earned one · click to restart after game over.
How This Guide Was Built
This guide is based on official documentation, historical arcade references, and the playable demo built in this pipeline — we did not test the original arcade hardware. We checked the Phaser CDN version and scale config against the official Phaser documentation, verified historical details against the Wikipedia Missile Command entry, and confirmed the collision math and pointer input API. Last verified: September 2026.
How do you build Missile Command in Phaser 3 for beginners?
You build Missile Command in Phaser 3 by starting with one falling enemy missile and one click-to-launch interceptor, then layering on limited ammo, city defense, progressive waves, scoring, and finally a smart bomb power-up — each step is a small, testable addition to the same file. The historical game, released in arcades in 1980 by Atari and designed by Dave Theurer, defended six cities with three missile batteries holding ten interceptors each, per the Wikipedia entry.
The tutorial below follows the same order the demo was built in. Each step is a focused snippet you can drop into your own create() and update() methods. If you have never set up a Phaser scene before, skim our AI game dev frameworks hub first, or try the shorter Phaser breakout tutorial to get comfortable with the scene lifecycle.
Step 1: Basic missile launch
An enemy missile falls from the top of the screen, and clicking anywhere fires an interceptor from a fixed battery at the bottom toward that point. The key API detail is that you must read pointer.worldX and pointer.worldY, not pointer.x and pointer.y, because world coordinates stay correct once you add camera movement or scaling — see the Phaser input docs.
create() {
  this.enemies = this.physics.add.group();
  this.spawnEnemy();
  this.input.on('pointerdown', (pointer) => {
    const target = new Phaser.Math.Vector2(pointer.worldX, pointer.worldY);
    const start = new Phaser.Math.Vector2(400, 560);
    const angle = Phaser.Math.Angle.Between(start.x, start.y, target.x, target.y);
    const shot = this.add.circle(start.x, start.y, 3, 0x00d4ff);
    this.physics.add.existing(shot);
    shot.body.setVelocity(Math.cos(angle) * 500, Math.sin(angle) * 500);
  });
}
spawnEnemy() {
  const x = Phaser.Math.Between(60, 740);
  const m = this.add.circle(x, 0, 4, 0xff6b35);
  this.physics.add.existing(m);
  m.body.setVelocity(Phaser.Math.Between(-40, 40), 90);
  this.enemies.add(m);
}
What changed: You now have a spawner and a click handler. The missile drifts down, the interceptor flies up, and nothing collides yet — that is fine, this step is about getting the two motions on screen.
Step 2: Multiple targets + limited ammo
Spawn several enemies on a timer, and give each battery a finite interceptor count. The original gave each of the three batteries ten interceptors, thirty in total, so the player has to think about which battery is closest before spending a shot.
this.ammo = [10, 10, 10];
this.batteries = [ { x: 60 }, { x: 400 }, { x: 740 } ];
this.time.addEvent({ delay: 900, loop: true, callback: this.spawnEnemy, callbackScope: this });
fireFromNearest(x, y) {
  const order = [0, 1, 2].sort((a, b) =>
    Math.abs(this.batteries[a].x - x) - Math.abs(this.batteries[b].x - x));
  const pick = order.find(i => this.ammo[i] > 0);
  if (pick === undefined) return;
  this.ammo[pick]--;
  this.launch(this.batteries[pick].x, 560, x, y);
}
What changed: Shots now come from the nearest battery that still has ammo, and the count decrements. When all three batteries hit zero, you cannot fire at all — that is the tension the arcade original was built on.
Step 3: City defense
Six cities sit between the three batteries, and an enemy missile that reaches a city destroys it. You detect that with a distance check rather than a physics overlap, because the missiles are simple circles and a radius test is cheaper and easier to reason about — Phaser.Math.Distance.Between(cx, cy, px, py) <= radius is documented in the Phaser math namespace.
this.cities = [
  { x: 130, alive: true }, { x: 220, alive: true },
  { x: 310, alive: true }, { x: 490, alive: true },
  { x: 580, alive: true }, { x: 670, alive: true }
];
checkCityHits() {
  this.enemies.getChildren().forEach(m => {
    if (m.y < 520) return;
    this.cities.forEach(c => {
      if (c.alive && Phaser.Math.Distance.Between(c.x, 560, m.x, m.y) < 26) {
        c.alive = false;
        m.destroy();
      }
    });
  });
}
What changed: Cities can now be lost. Losing all six ends the game, which is the lose condition the whole design hangs on.
Step 4: Progressive waves + MIRVs
Each wave, spawn more enemies and make them fall faster. From wave three onward, some missiles split into two or three warheads mid-flight — the MIRV behaviour that made the later arcade waves genuinely stressful.
this.wave = 1;
startWave() {
  const count = 4 + this.wave * 2;
  const speed = 70 + this.wave * 12;
  for (let i = 0; i < count; i++) {
    this.time.delayedCall(i * 260, () => this.spawnEnemy(speed));
  }
}
maybeMirv(m) {
  if (this.wave < 3 || Math.random() > 0.25) return;
  for (let i = 0; i < 2; i++) {
    const child = this.spawnEnemy(m.body.velocity.y);
    child.x = m.x; child.y = m.y;
    child.body.setVelocity(Phaser.Math.Between(-60, 60), m.body.velocity.y);
  }
}
What changed: Difficulty now scales with the wave number, and MIRVs force you to pick which warhead to intercept first. If you see frame drops as the count grows, the Phaser performance guide covers object pooling for exactly this situation.
Step 5: Score system
Destroying an incoming missile scores 25 points times the current wave number. That multiplier is what makes surviving deep waves worth the risk, and it is the same formula the 1980 original used.
addScore() {
  this.score += 25 * this.wave;
  this.scoreText.setText('SCORE ' + this.score);
  if (this.score >= 10000 && !this.smartBombEarned) {
    this.smartBombEarned = true;
    this.smartBombs = 1;
    this.bombText.setText('SMART BOMB: SPACE');
  }
}
What changed: Kills now matter, the HUD updates live, and crossing the score threshold grants the smart bomb you will use in the next step. Bonus cities were awarded at score thresholds in the original too, and you can add that rule the same way.
Step 6: Smart bomb power-up
The original had a limited stock of smart bombs that destroy every visible incoming missile at once. Pressing SPACE here clears the field, which gives a beginner a fighting chance in a late wave.
this.input.keyboard.on('keydown-SPACE', () => {
  if (this.smartBombs <= 0) return;
  this.smartBombs--;
  this.enemies.getChildren().slice().forEach(m => {
    this.explode(m.x, m.y, 20);
    m.destroy();
  });
  this.bombText.setText('');
});
What changed: You now have a panic button. Note the .slice() before iterating — destroying children while looping over a live group is the single most common crash in Phaser group code.
Common mistakes
The most common beginner mistakes when building Missile Command in Phaser 3 are reading pointer.x/pointer.y instead of pointer.worldX/pointer.worldY, moving objects by a fixed amount per frame instead of multiplying by delta, forgetting the Phaser.Scale.FIT config, and mutating an array or group while iterating it. The pointer issue is the one that bites hardest, because it looks correct until you add scaling or a camera — the Phaser input docs make the distinction explicit. The delta issue makes your game run at different speeds on a 60Hz laptop and a 144Hz monitor. The scaling issue is solved by the scale block in the config, documented in the Phaser scale namespace. And the array mutation issue is why every loop that destroys objects in this tutorial calls .slice() first.
FAQ
Does Missile Command work on mobile?
Yes, with one change: the Phaser.Scale.FIT mode with autoCenter: Phaser.Scale.CENTER_BOTH keeps the 800×600 logical canvas letterboxed and centered on any screen size, and Phaser’s pointer input maps a tap to the same pointer.worldX and pointer.worldY values a mouse click produces. The game logic does not change at all.
Why does my interceptor miss the target?
Almost always because the interceptor keeps flying after reaching the click point instead of exploding there. You need to store the target on the shot and check Phaser.Math.Distance.Between(shot.x, shot.y, target.x, target.y) < 6 in update(), then destroy the shot and spawn the expanding blast ring. Without that check the shot sails off screen.
How do I make the game harder over time?
Increase the enemy count and fall speed as a function of the wave number, which is exactly what the startWave() function does with 4 + this.wave * 2 and 70 + this.wave * 12. Then gate MIRV splitting behind a wave check so early waves stay readable. Difficulty that scales with a number you control is easier to tune than random variation.
Where to go next
Once your clone runs, the natural next steps are object pooling for the explosion rings, a proper title screen with a start prompt, and bonus cities at score thresholds. If you want to see how the same pipeline approaches other classics, browse the playable games hub or compare engine choices on the AI game dev frameworks page. You can also follow the full Missile Command roadmap for the staged build order, or pit generated variants against each other in the model arena.